Home

Showing posts with label 12 months. Show all posts

Wednesday, 14 March 2018

Stuffed Capsicum and Green Apple Fish Rolls

Hello, you!


Today I'd like to share one of the most successful ways to transform a simple, common fish fillet dish in a super delicious dinner option!

Stuffed Capsicum and Green Apple Fish Rolls
With a not expected but surprising combination of yellow capsicum, green apple and spices filling, plus a leek sauce you can have a great meal option!


Ingredients
12 fillets of any fish (I used red cod);
1/2 Onion in cubes(I used red onion)
1 Medium capsicum in cubes (I used yellow);
1 Large Green Apple grated;
1 tbs of butter (I used Ghee);
1 Small Leek in cubes;
1 Lemon;
Salt and black pepper to taste;
Vegetable oil (I used Olive oil);
2 tbs grated parmesan.

How to do
The filling must to be cold, then start for it.
1. In a fry pan add the butter till melt, then onion. When is light brown mix the capsicum, green apple grated and spices (as much and which you like it). In a medium low heat let to cook, when there's no more liquids on the pan, it's done. Set aside to be cold;
2. In a bowl add the fillets, lemon juice, salt and pepper. Mix all and set aside for 5 to 10 minutes;
3. In a baking dish add oil and spread. Cover with leeks and set aside. Preheat the oven to 200ºC;
4. When the filling is cold (at least room temperature), take the fillets and fill up the center with the filling (about 1 or 2 tablespoons, depends of your fillet) and roll. Use a toothpick to prevent it'll not open when is in the oven;
5. Set the fillets one next to another over the leeks, cover with Parmesan cheese and a bit of olive oil;
6. Bring to oven for 20 minutes or till the cheese is golden brown and a beautiful sauce "show up":


And it's done!!!
I'd served with white rice and homemade coleslaw. I highly recommend!


I have to confess... it's not the most beautiful presentation of a dish, but the taste is better than most part of seafood restaurants I ever tried. Just do it. You'll not regret!


If you make this recipe or have some question about it, send me an email (danicorrado@gmail.com) and let's talk!

Ohhh and if you liked this post please give it your thumbs up,  leave a comment below, subscribe my blog, share in your Facebook, twitter and other social media you want. This interaction, this feedback is super important, makes all the difference in my work and how I can get better and better !!!

Warm regards,

Dani

Saturday, 26 November 2016

Blueberry Pancake mini muffins

Hello!

I think you realize that my son is crazy for blueberries... lol... it's true. This is the only flavor he wants to eat. Then here goes the mom to vary the muffin types (which he loves too)! So today I bring you an option of breakfast, the afternoon snack that can be frozen and it gives a super help on the day-to-day rush without leaving aside the flavor and health!

Blueberry Pancake mini muffins
Here is a suggestion of how I served the muffins: natural yogurt with homemade jelly of strawberries and sliced apples

What now? Do you want to learn how to make this delicious muffin and make that quick snack a little different and very healthy? Have a look:

Ingredients

1 cup wheat flour;
1/2 cup oatmeal;
1/2 tablespoon baking powder;
1/2 tablespoon brown sugar;
A bit of salt;
1 cup of milk;
1/2 tablespoon of vinegar;
1 large egg;
1/2 tablespoon vanilla extract (preferably homemade);
2 tablespoons coconut oil (or butter melted);
Blueberries (2 to 4 each mold)

Preparation


1. Preheat the oven to 200ºC;
2. Mix the dry ingredients: flour, baking powder, sugar and salt. Set aside;
3. Add the milk and vinegar, stir and let stand for about 5 minutes;
4. In the same bowl of milk and vinegar mix the egg, oil and vanilla;
5. Combine the dry and wet ingredients, if the dough is too thick add half a cup of milk;
6. Grease the molds of mini muffins with butter/oil and flour and fill them with the dough slightly more than half the mold. I did not need to grease because I use silicone mold, it's easier to unmold the muffins and wash;
7. Add the blueberries to the dough with 2 to 4 "balls" per dough and bake for 15-20 minutes until golden brown.
8. Allow to cool down a little (about 5 minutes) before unmolding, serve hot! Hummmmmmm

COMMENTS:

* This is my version of this recipe;
* Although it contains just a little bit of sugar, this recipe is recommended only for over 12 months babies because of cow milk and white flour. Unfortunately you have to put it to keep the muffins fluffy and light...

Wednesday, 15 June 2016

Tapioca Roll

Hello!

A few afternoons ago I had a will to eat a salty snack, that was fast and very light (I'm doing nutritional re-education, I've lost over 12kg, it's not a good idea to have a super fat chocolate cake just because it was a rainy afternoon and I was on a moving to eat something...).

Then I opened my cupboard and the fridge, grabbed a few things, mixed in a bowl and the result was a super lightweight roll, soft and very, very tasty!!!

My... Tapioca Roll!!! 

And the Ingredients are...
2 large eggs
1 tablespoon of chia seeds
2 tablespoons cream cheese
(Can change for cottage cheese)
4 tablespoons tapioca gum
(If you don't find this kind of gum, just hydrate tapioca flour)
1 cup of tapioca flour

That's all, folks! This was my Method:
It really didn't need a step-by-step, after all it's just mix it all the ingredients, but I like very much my job, then follows:

1. In a bowl place the eggs and mix until blended;
2. Add the chia seeds, let stand for about 5 minutes;
(So ​​the seeds will hydrate and sustain the roll)
3. Add the cream cheese and mix until smooth;
(My cream cheese wasn't "that cream" then I needed a few extra minutes stirring to dissolve and incorporate well with the other ingredients. If this happens to you don't give up, keep stirring that all will be fine!)
4. Add the tapioca gum, mix, the tapioca flour and mix;
5. When everything is smooth like a pancake dough is ready to put in molds (I used mini cupcake but I believe that will worth with any mold) and bake;
6. It takes 30 minutes at 180 degrees, but my oven is very hard to maintain the temperature, so I recommend you to keep an eye out! When they are grown and golden is ready!!!
The chia seeds give texture, the tapioca flour gives this beautiful color and the cream cheese give us a taste that remind the famous brazilian cheese roll (far away, to be clear huh...) Lol

And now really that's all folks!

xoxo

If you liked this post I ask you to like it, comment, share on your facebook, twitter and other social media you want. This interaction, this feedback is super important to me, makes all the difference in my work and how I can get better!!!

Thursday, 21 April 2016

Pumpkin Apple Muffins

Hello,


Today I bring a recipe for those who aren't on carb restriction like me, children in general (like David), nutritious and healthy snack lovers in general:

Pumpkin Apple Muffins!
 

Ingredients:

2 cups oat flour

1 teaspoon baking soda

1 teaspoon baking powder

1/2 teaspoon salt

1 avocado, peeled and pitted, mashed

1 banana, mashed

1 cup pumpkin puree

2 eggs

3/4 cup sugar (I used coconut sugar)

1 teaspoon vanilla
1 apple, peeled and chopped
Crushed nuts

Baking...

1. Preheat oven to 175°C. Put 16 cupcake wrappers in muffin tins or wherever you will use to bake;
2. In a big bowl, mix together the dry ingredients: flour, baking soda, baking powder and salt;
3. In a separate medium-sized bowl add and mix: avocado, banana, pumpkin, eggs, and vanilla;

4. When the "liquid" ingredients are smooth, add sugar and mix until almost all grains are dissolved;
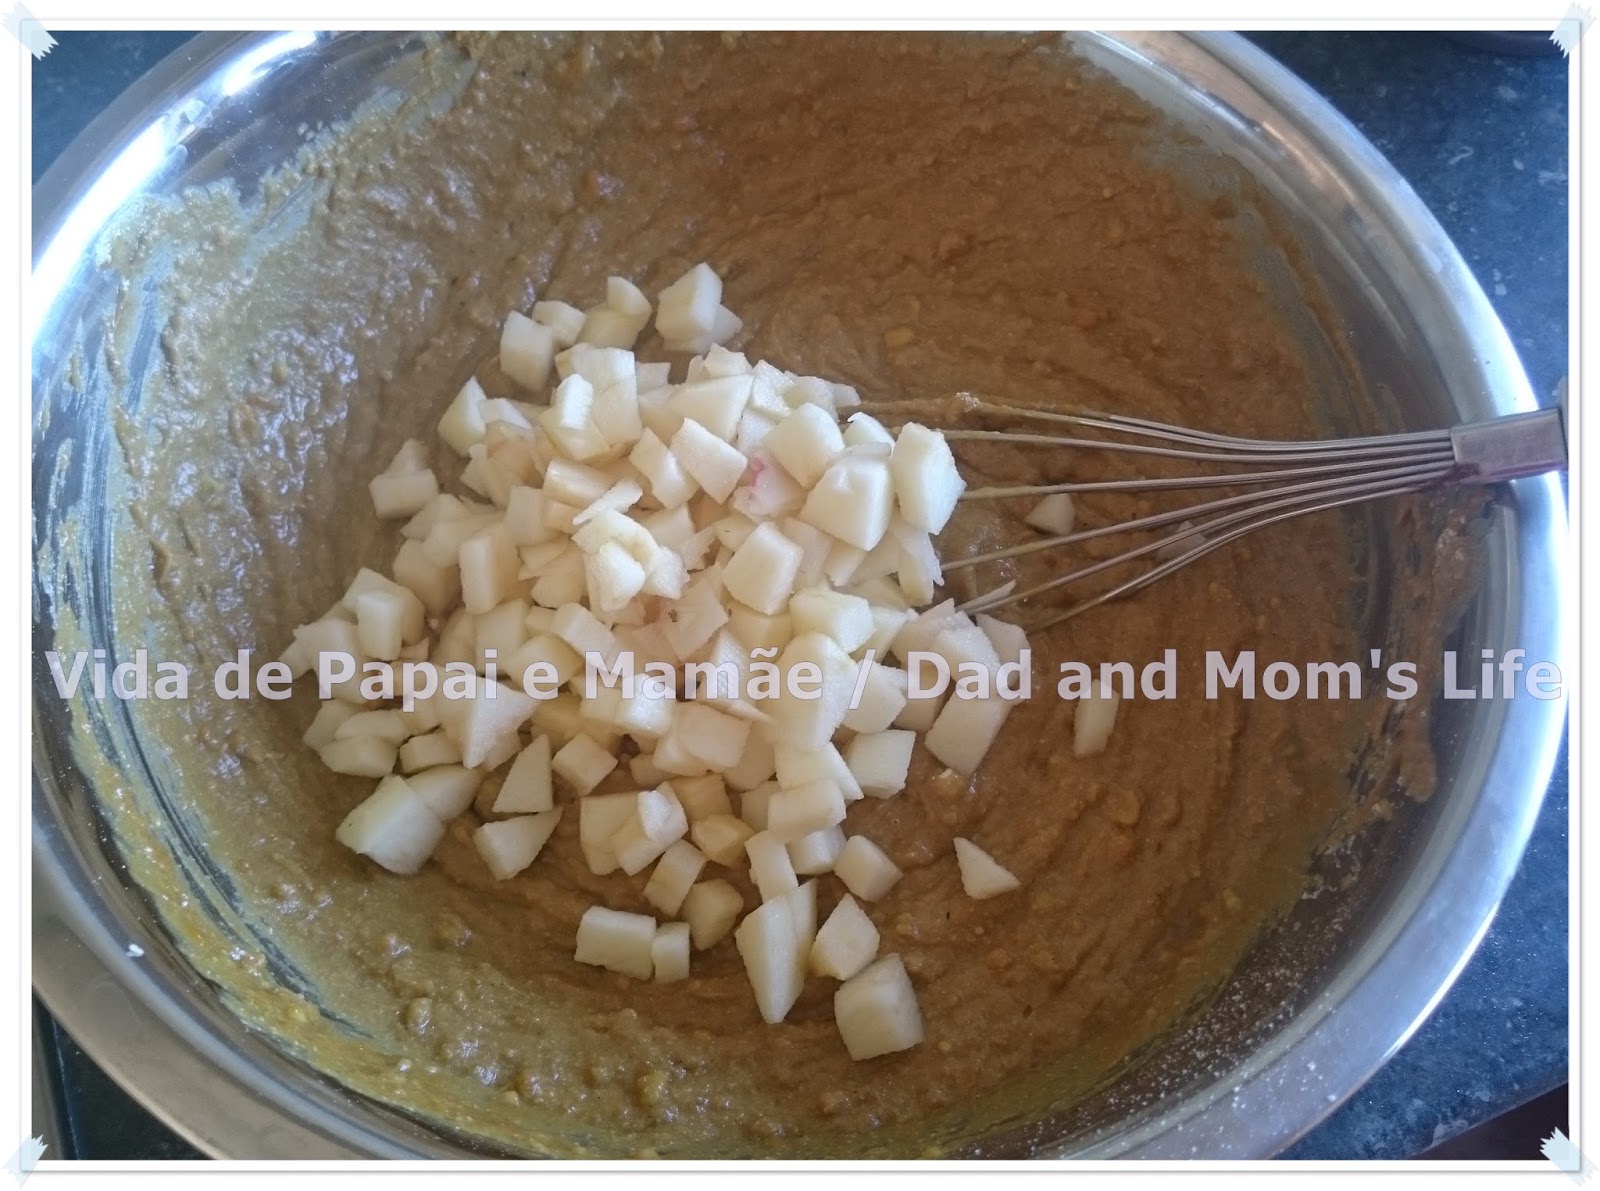
5. Add the "liquid" mixture on the bowl with dry ingredients, stir until smooth then add the chopped apples folding them gently until are completely covered by the dough;
6. Fill muffin tins or silicon (what you are using) evenly possible, sprinkle with crushed nuts and bake it until when you put a toothpick and it get out clean. (here were 25 minutes, but my oven isn't a good one).

Take a look in those muffins when ready! Hmmmm

Muffin's inside vision: fluffy and very tasty!

And now, the PAY ATTENTION section:

* This is my version of this recipe here, Australian site called PopSugar;
* In the original recipe, she uses whole wheat flour, I switched to oat flour, to "decorate" I used pecans, I make a "crumbly" of various nuts (almonds, cashews, walnuts, macadamia nuts, hazelnuts, etc.) and flaxseed. I switched and encourage you to feel free to use what you have at home!
* Still speaking of the "official" version, the recipe also have cinnamon (1 teaspoon), cloves (1/8 teaspoon) and nutmeg (1/2 teaspoon). I didn't use because David and I are allergic to cinnamon and we do not enjoyed very much the other ingredients (but again, feel free to use it!);
* You can use any kind of Pumpkin or a mix of what you have at home to make the puree, I used some parts of buttercup and butternut that I had at home. The result couldn't be better: veeeeeeeeeery tasty!
* Sugar, in principle, can be any kind, but if the purpose is to do something healthy and nutritious especially if children will be consuming, I do not recommend using white / refined versions. Substitutes such as organic raw sugar, brown sugar, coconut sugar, honey or molasses are more suitable;
* Talking about sugar, because of it, this recipe is recommended for ages 12 months and older. But if you don't add sugar and nuts that are allergenic, this muffin can be offered for children up to 9 months and older;
* The vanilla extract that I use is not that one that contains dyes, alcohol and nothing of vanilla actually. If there are concerns beyond the flavor, like the nutrients that are added, I really suggest you to try to switch for a more natural option available in your city.

And that's it for today! I hope you enjoyed this recipe, it takes some work to prepare the ingredients (for "do it" properly is super simple, you have to admit it...) but the result worth it!

Go ahead and do it, send me an email (danicorrado@gmail.com) and share your experience!

If you liked this post, please, click on like button right below in this post, leave a comment, share on your facebook, twitter and other social media you want. This interaction, this feedback is super important to me, makes all the difference in my work and how I can get better more and more!!!

Tuesday, 5 April 2016

Weekly menu and David's progress

Hello!

Today I bring you our meals scheduled this week here at home, our menu!

I've given up the idea to explain the reasons for not having posted anything since last year, give up for blame myself for the delays and... what to do about it? I'm doing things as fast as I can. And keep going...

David is 3 years and almost 11 months, recently he started to eat alone (yay!!!), we are now "in full swing" in toilet training!!! I am also more than happy and proud to share that for more than a week David is sleeping alone in his own bedroom, since when we talk about the changes, we organized the little room the way he liked ... did not wake up no one time during the night, not called us or came to our bed, no one crying moments... I'm sharing this progress with you cause it's one thing before affect  David, we had to change in ourselves first, that we've done choosing positive discipline (respecting David's time before our desires, statistics... etc). Of course it's not easy, there are bad days, it takes a great willpower to not repeat the examples we have in memory, in our history ... but the result is worth the effort. Really does.
Take a look how our kid is! This photo we took a couple weeks ago in our trip to Wellington/NZ.

And of course... this is the menu of this week:


And that's it!

Love,

Dani

Ohhh! If you liked this post, share on  your Google+, Facebook and Twitter! I'd be very glad!